
Last updated November 16, 2026
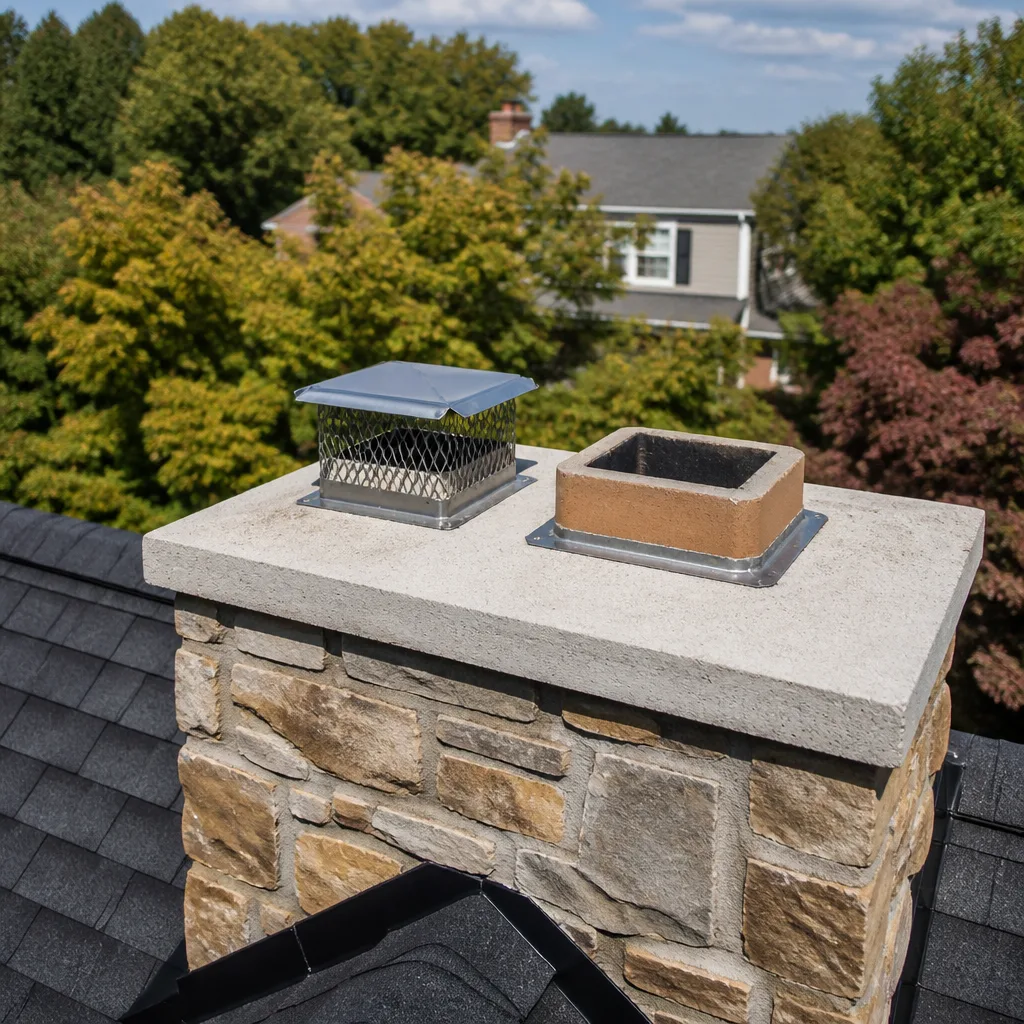 Sweep & inspection
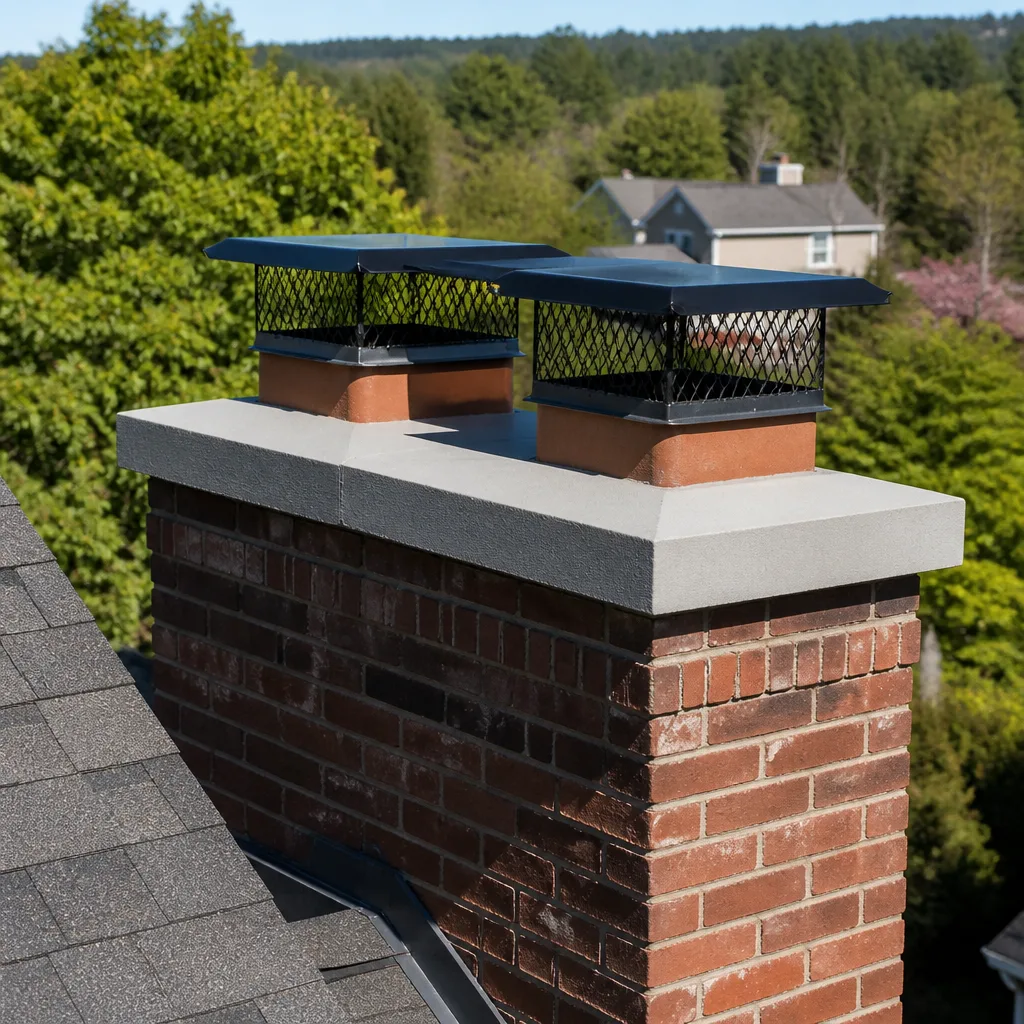 Caps & crowns
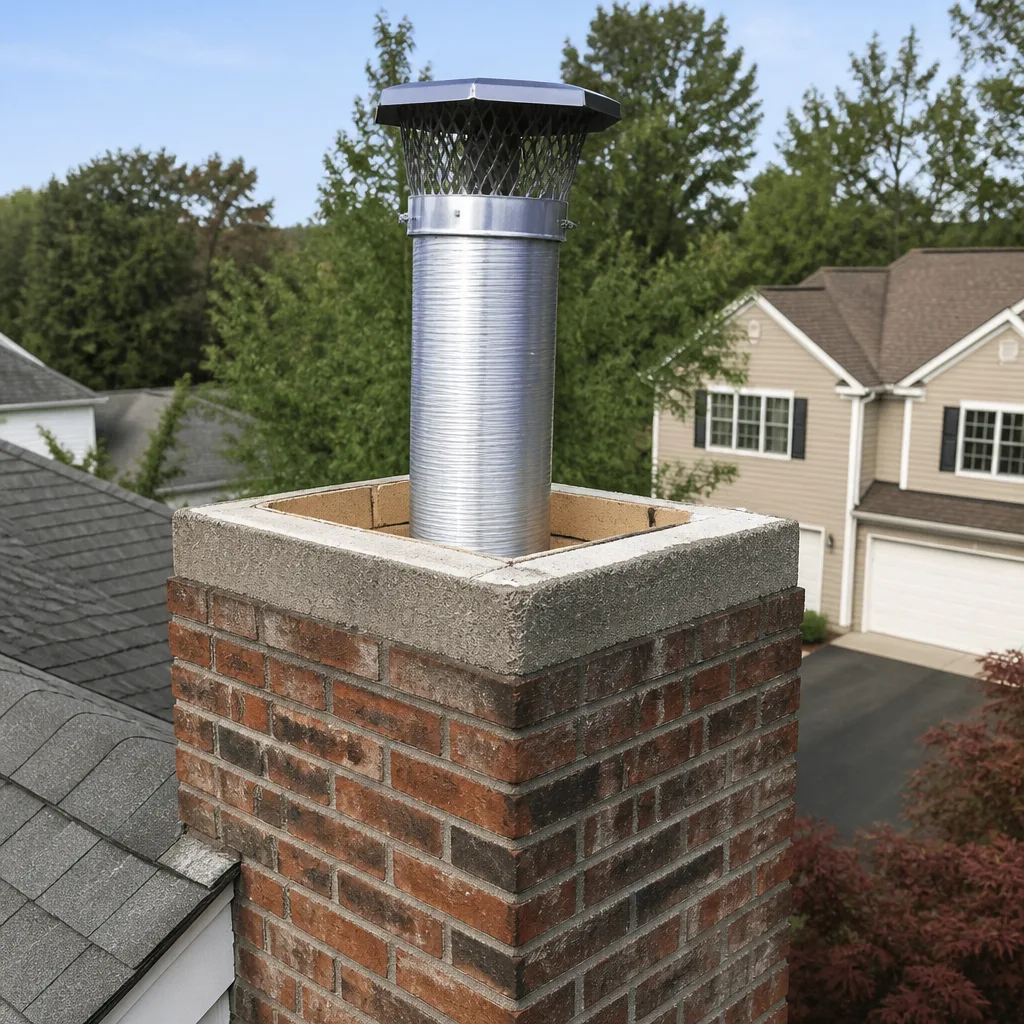 Flue relining
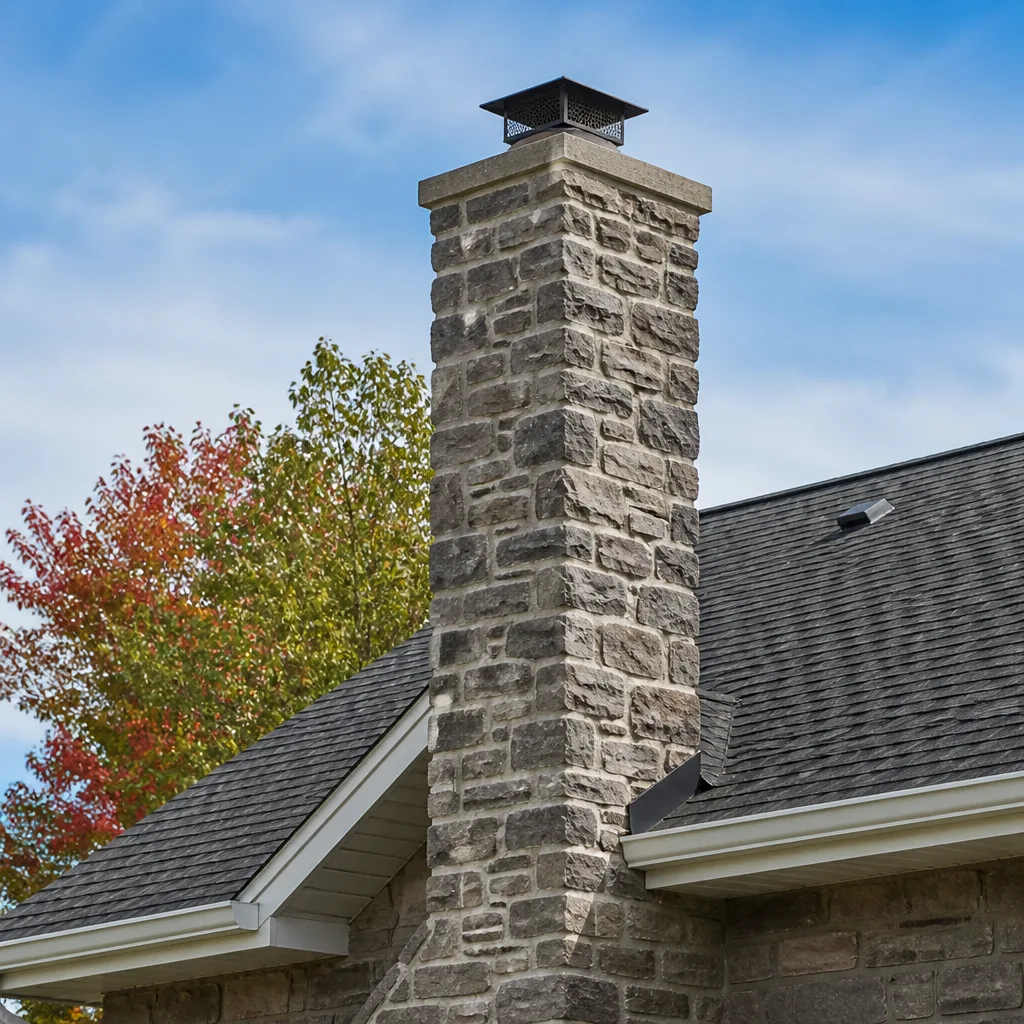 Masonry repair
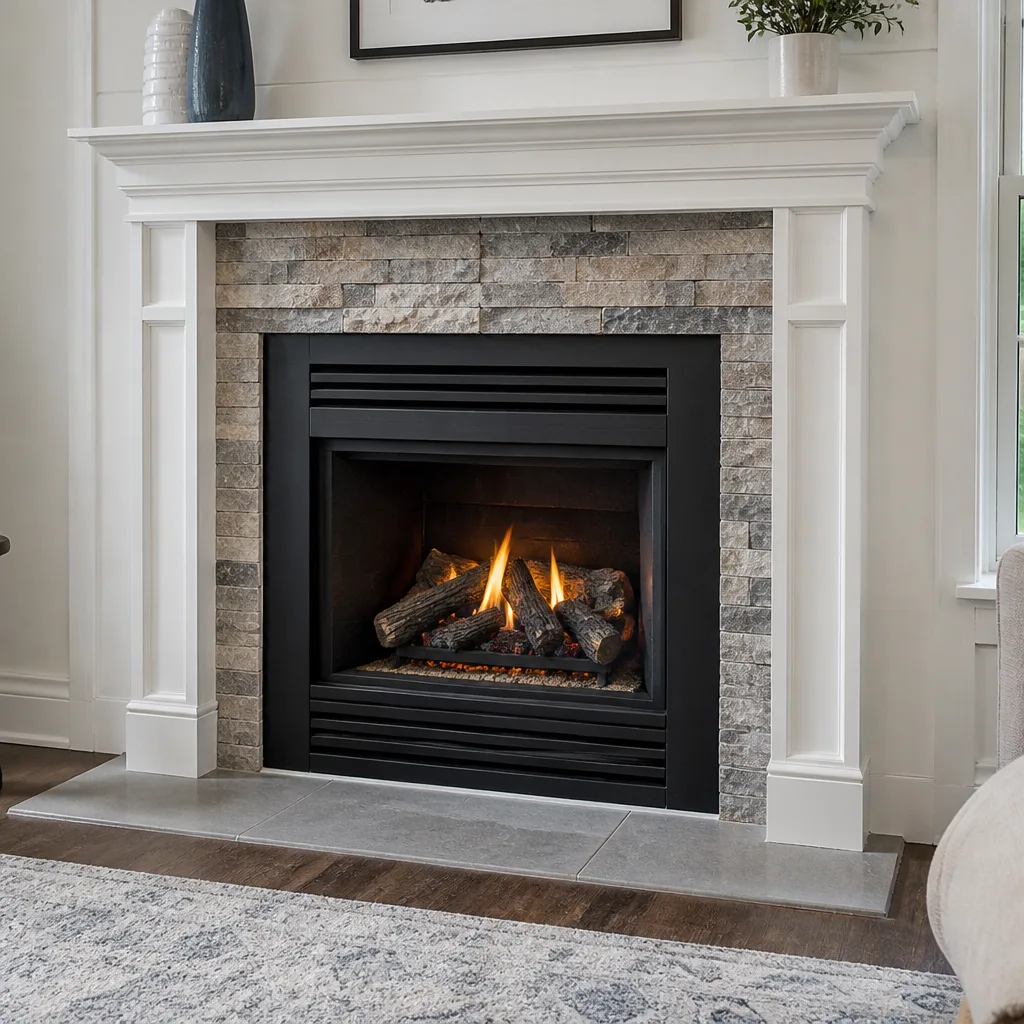 Gas fireplace service
Level 1 sweep and inspection to the NFPA 211 annual standard - flue, crown, cap, and flashing checked and photographed
Chimney sweep logs do not sweep chimneys. They loosen some creosote - which then falls where a brush and vacuum still have to collect it.
Chimney Sweep Maintenance Checklist for Tracy Homeowners
The usual advice says to book an inspection before winter, and most homeowners stop there. That’s the wrong calendar for Tracy. Summers here are dry and windy, and the same gusts that coat a patio table in dust can pack debris into a chimney cap and screen over a few weeks. A flue that passed inspection in spring can be partly obstructed by autumn without a single fire ever being lit. Chances are nobody noticed, because nobody checked between the two dates.
What follows is a maintenance checklist built around what actually happens to a chimney here: dust season, fire season, and the slow creosote buildup that quietly begins the moment the first logs are lit. You’ll learn what to inspect yourself, what to leave to a professional, and when each task belongs on the year. Every item is tied to a season, not to a generic “annual” label that ignores how this valley works.
Quick Answer
A chimney maintenance checklist for a Tracy homeowner should be timed to three seasons, not to the calendar year. Clean and clear the cap and crown after summer dust in September, check creosote staging after the first 10 to 15 fires in January, and assess liner condition, damper seating, and moisture intrusion in March once the burn season ends. Most items are safe for you to check from the firebox; anything above the damper or involving the liner needs a trained professional, and a documented inspection once a year is what keeps you covered for insurance purposes.
Styles & brands we work with
- Sweep & inspection
- Caps & crowns
- Flue relining
- Masonry repair
- Gas fireplace service
Table of Contents
- Why the Calendar Month Doesn’t Matter
- Pre-Season Checklist: September, Before the First Fire
- Mid-Season Checklist: January, After the First 10 to 15 Fires
- Post-Season Checklist: March, After the Last Fire
- What You Can Safely Check Yourself
- Where Self-Inspection Ends and the Job Starts
- The Documentation Your Insurer Wants
- The Full-Year Table at a Glance
Why the Calendar Month Doesn’t Matter
Nearly every chimney care guide tells you to “schedule before winter.” That advice is written for places that have a hard transition between a long warm season and a long cold one. In a valley town like ours, the seasonal shifts are subtler and the transitions happen at different times. Summer is dusty and dry, with wind that moves fine, sandy particulate and plant debris through the air. That material doesn’t disappear in the warmer months; some of it settles on the outside of the chimney, into the cap’s mesh, and across the crown’s top surface.
When fall arrives, the first fire lights in a flue that has had months of airborne sediment sitting inside the cap and screen. If the mesh is clogged, draft suffers and smoke can spill back into the room. That is not a symptom you’ll feel right away. It comes on slowly. A draft that used to pull well starts pulling less. A bit of odor appears when the fire first starts. A homeowner with a fireplace in a west Tracy neighborhood may assume wood quality changed. In our experience, a partial obstruction from debris or a slightly loose cap often shows up in the first weeks of burning before a single sweep is ever called for.
The other factor is wood moisture. Firewood bought in the middle of summer can sit stacked at the back of the yard for months. Unless it’s properly seasoned, the burn is inefficient and creates more smoke, which is more creosote, which compounds the spring inspection findings. Homeowners in Tracy who keep a cord of wood on the side of the house year round will see more creosote in the flue by February than those who buy firewood just before the burn season. It’s not a fault in the chimney, it’s the fuel, but the flue ends up carrying the cost.
Pre-Season Checklist: September, Before the First Fire
The September checklist is the safety-critical one because it’s the last real chance to find a problem before you’re lighting fires. Work it top-down: chimney cap first, then crown, then the firebox, then the cap screen.
- Check the chimney cap and screen for debris. From ground level, look at the cap. A visually clear screen can still be packed with dust, pine needles, or seed pods that don’t show from the yard. This is the single most overlooked item in Tracy. Dust moved by summer wind will fill a fine-mesh screen over time; once packed, it doesn’t vent and it doesn’t pass smoke correctly.
- Inspect the crown for cracking or loss of seal. The crown is the sloped concrete or metal surface at the top of the chimney. Small cracks allow water infiltration in fall and spring rain. A crown that’s failed won’t announce itself; it silently sends moisture into the masonry, which then shows up as spalling brick or interior staining two seasons later.
- Confirm the cap itself hasn’t loosened. Tall caps on single-flue masonry chimneys in the middle of a windy afternoon can shift. A cap that’s no longer seated tightly is a draft problem and a debris problem at the same time.
- Clear the firebox and ash pit. Remove old ash from the prior season and confirm the damper moves freely. A damper that’s seized halfway open is a slow leak into the room in the off-season, when the chimney is cold and interior air is trying to move up.
- Check the firebox for loose brick or missing mortar joints. The firebox is the part of the chimney you can see and touch. It’s also where early signs of spalling and joint separation appear first.
- Test the damper seating and note any noise on opening. If the damper scrapes or binds, that’s a sign of debris or distortion. Leave it for a professional to release correctly.
If every September item checks out, the fire season starts with a known baseline. If not, this is the month to book a professional inspection in Tracy before the burn season picks up.
Mid-Season Checklist: January, After the First 10 to 15 Fires
By January, real use has begun. The question now isn’t cleanliness, it’s staging. Creosote doesn’t accumulate in an even, predictable line; it goes through stages, and each stage has a different behavior. Most homeowners never see the transition. A professional does, on every chimney, every season.
After the first 10 to 15 fires, here’s what to check:
- Stage 1 creosote: a light, flaky, soot-like coating that brushes away easily. This is normal. If the flue looks like this at the mid-season check, you’re still on schedule and the annual sweep is fine.
- Stage 2 creosote: a harder, crusty layer that doesn’t brush off without effort. It develops faster with green wood, cool flue temperatures, or a slow smoldering fire. At this stage the sweep needs more attention and the chimney is more likely to need a professional check mid-season rather than at spring.
- Stage 3 creosote: a glazed, tar-like deposit. This is a fire risk and it’s the point where the flue requires brush-and-chemical work by a professional, not a homeowner. Do not keep burning into this layer.
The Tracy mid-season check isn’t about relining the whole system; it’s about spotting Stage 2 forming in the first place. If you’re burning wood in a fireplace or insert and haven’t had the flue cleaned in more than one season, the mid-season check is where the estimate typically comes from. That’s also when a professional can tell you whether HeatShield resurfacing makes sense versus a full DuraFlex reline. The flue condition decides, not the invoice.
Two additional items to work into January:
- Look at the firebox glass (on gas inserts) for soot streaking. Soot on gas insert glass is not normal after the first 15 fires. It usually means the fire is burning rich and there’s a venting issue. Get it checked.
- Check the exterior of the chimney from the ground. Look for new water staining, animal entry, or a cap that looks off-level. Animals find a warm cap in winter in a way they don’t in summer.
Post-Season Checklist: March, After the Last Fire
March is the most useful month on the schedule. The burn season is over, so the flue tells the truth about how it held up. There’s no new creosote being added, the weather is mild enough for exterior assessment, and the findings are still fresh enough to schedule repair work without rushing. Here’s where the checklist gets detailed.
- Flue liner condition. The inner liner is the thing most homeowners can’t see and most insurance claims hinge on. After a full burn season, the liner shows cracking, gaping at joints, or spalling from the year’s thermal cycling. Anything more than a hairline crack in a clay-tile liner is a real finding, and it typically requires either HeatShield ceramic resurfacing or a DuraFlex stainless reline, depending on the flue’s structure and the extent of the damage.
- Damper seating. A damper that seated well in September should still seat in March. If it now closes with a gap, or binds, something has changed during the burn season. A gap is a heat-loss problem in winter and an odor-control problem in summer.
- Moisture intrusion assessment. Walk the exterior of the chimney and look for efflorescence (a white, powdery bloom on brick or stucco), which indicates moisture migration through the masonry. Also look at interior ceilings and walls where the chimney passes through. Yellowing or a faint tide line on the drywall near a chimney chase is worth a professional look.
- Crown and flashing re-check. A crown that was intact in September can crack by March from the dry-wet cycling of winter rain. Flashing that seals to the roof is easy to spot from the ground; if it’s lifted, real sealing work is needed. This is where professional-grade flashing like Famco systems makes a difference over generic components.
- Bird and animal screening. Confirm caps and screens haven’t been breached. A raccoon or bird can work a screen open over a winter and the entry becomes obvious in spring.
- Confirm draft before the next season starts. A cold-start draft test in March tells you whether the whole system still pulls. If March’s test is weak and September’s pre-season check finds no new obstruction, you’ve likely got a flue sizing issue that’s been developing.
March is when the estimate from a spring inspection is most economic to act on. Repair work done in April and May is done before summer heat or fall rush, and the materials have the whole season to cure before the first fire. A chimney repair project scheduled in March also gets the pick of dates that are harder to book once September arrives.
What You Can Safely Check Yourself
A homeowner with a flashlight and no tools can do a meaningful first-pass inspection. This is where to draw the line and how to work within it.
Safe to check yourself:
- Look up the firebox with a strong flashlight. Note missing mortar, cracked firebrick, or efflorescence in the firebox.
- Open and close the damper to confirm free movement and seating.
- Look at the firebox for soot streaking on gas insert glass.
- From the ground or a stable ladder, look at the cap and crown with binoculars. Note loose caps, visible cracks in the crown, or packed screens.
- Look at the surrounding roofline for lifted flashing or discolored stucco near the chimney.
- Confirm the firebox doors, if present, close fully.
Do not attempt:
- Anything inside the flue above the damper, including brushing. The flue can contain hazardous soot and creosote. Brushing a flue from below or above without proper equipment can release a cloud of fine material into the room and cause a serious breathing risk. Leave it to a trained technician.
- Any work on the chimney’s exterior crown, cap, or masonry from a ladder or roof. Height work is a genuine safety risk and the work itself needs specific materials. A chimney sweep trained in that work should be doing it.
- Relining work of any kind, whether HeatShield resurfacing or a DuraFlex stainless liner. This is not a homeowner task and can lead to carbon monoxide exposure if done wrong.
- Removing a seized damper or dismantling any part of the firebox. Both can create a hazard if forced.
Homeowners in Tracy who live near the industrial edge of town tend to see more exterior dust on the chimney in September. That dust settles on the cap screen and crown surface. Wiping the outside of the cap by hand from the ground is fine; brushing the flue is not. If you’ve ever wondered whether you should sweep your own chimney, the short answer is no. A trained technician needs to do it correctly.
Where Self-Inspection Ends and the Job Starts
There’s a clear line between what a homeowner can safely review and what a trained technician should assess. Everything below that line belongs on the professional’s checklist, and skipping it is what turns a small repair into a major one.
Professional work includes:
- The full interior flue assessment. A trained sweep uses a video camera to inspect the liner, joints, and any offsets. Homeowners can’t see the inside of a flue from the firebox. The camera view is what tells you if there’s a Stage 2 or Stage 3 creosote layer, a cracked tile liner, or a deteriorated mortar joint.
- The liner restoration decision. HeatShield ceramic resurfacing is a restoration method that can extend the flue’s life without full demolition when the structure allows it. DuraFlex is a full relining system for flues that are too deteriorated or geometrically complex for resurfacing, including flues with offset sections. Knowing which is correct requires seeing the flue from inside. We always show the camera view before recommending either.
- Exterior masonry and crown work. Crown repair, cap replacement, and flashing work all need proper materials. A Famco flashing system is specified for a reason: standard roofing caulk is not a chimney flashing fix, and it will fail again within a season or two.
- A documented inspection report. An inspection with a written report and photographs is often what an insurer asks for in a claim or inspection request. Without a report, an insurer may treat the work as unverified. This is also the difference between an inspection and a sweep, and you can read more on chimney sweep services to understand how the two work together.
Our technicians have up to experience walking homeowners through exactly these decisions. If you’ve done the self-inspection and want a second set of trained eyes on it, the Chimney Sweep Tracy team can walk through it with a camera and confirm whether anything actually needs work.
The Documentation Your Insurer Wants
California homeowner policies vary, and no two companies ask for documentation the same way. What nearly all of them value is proof that the chimney has been professionally inspected and that any condition found was either addressed or documented. Without that paper trail, a claim related to chimney damage or smoke can turn into a dispute.
The documentation that matters most:
- A dated written inspection report. This is the core document. It should state what was inspected, what was found, and what was recommended. The date is what an insurer uses to establish that the chimney was in a known condition on that day.
- Photographs from the inspection. Camera images of the flue interior and exterior photos of the crown and cap area are the standard evidence. A report without images is a much weaker document.
- A signed invoice or work order for any repair done. If a problem was identified and repaired, the repair documentation belongs with the inspection report. In an insurer’s view, that combination tells the whole story.
- A record of the sweep frequency. If your insurer asks for proof of annual maintenance, the pattern of dated sweep invoices across years satisfies that requirement.
For homes in Tracy that have sat on the market between owners, the inspection report from a professional sweep is often the cleanest documentation a buyer or seller can produce. Most home inspectors do not inspect the flue interior; a dedicated chimney inspection does. If your real estate agent has asked for a chimney clearance with a written report, that’s exactly this service. Confirm before lighting the first fire of the season.
The Full-Year Table at a Glance
Here’s the full checklist in order, so you can plan the year in one place.
- September (pre-season): Cap and screen check, crown inspection, firebox and ash pit clear, damper movement, flashing visible-from-ground check. Book the annual sweep and inspection.
- First burn: Confirm draft on the first fire. If smoke spills or the fire struggles, stop and call.
- January (mid-season, after 10 to 15 fires): Creosote staging check. Confirm whether Stage 1 or Stage 2 is presenting. Note any glass streaking on gas inserts. Exterior visual check from ground.
- March or April (post-season): Flue liner condition via camera inspection, damper seating, moisture intrusion (efflorescence, interior staining), crown and flashing re-check, animal screening, cold-start draft test.
- April through June: Schedule any needed repair work. Liner resurfacing or relining work done in mild weather has proper cure time before the next burn season.
- July through August: Wood stacking and seasoning. Anything stored between spring and fall should be under cover and elevated off the ground, so moisture and critters don’t move into it.
If you’re new to the neighborhood or recently bought a home that hasn’t had its chimney looked at recently, the March inspection is the one to prioritize first. Many of the first-time buyers we speak with in Tracy are inheriting a flue that has sat untouched for a few seasons. A spring inspection tells the whole story in one visit.
Common Mistakes to Avoid
- Timing the sweep to the calendar, not to use. A chimney that sat through the whole year without a fire does not need sweeping the following September if it was swept in March, but one that had 40 fires between November and February does. Track your actual burn count.
- Ignoring the chimney cap in favor of the chimney itself. In Tracy, the cap screen is the part that most often traps summer dust and winter debris. Sweeping is not the fix for a packed cap. Checking it first is.
- Burning wet wood because it was cheap at the yard. Under-seasoned wood is the fastest way to move a flue from Stage 1 to Stage 2 creosote. It burns cooler and smolders, which is precisely the condition that creates glazed creosote. Buy seasoned wood and store it dry.
- Assuming a home inspection covered the flue. Standard home inspections typically do not inspect the flue interior. If the previous owner’s paperwork doesn’t show a chimney inspection report, it wasn’t done.
- Skipping the March inspection. The pre-season check gets all the marketing attention, but the March inspection is the one that catches the developments of the prior season. Without it, you’re starting the next season on a baseline that’s a year old.
- Calling a sweep when you actually need an inspection. Sweeping cleans the flue. Inspecting tells you what’s inside. If the chimney is smoky, sticky, or dripping, you need an inspection with a camera, not just a sweep. To understand how they differ in practice, see the Tracy service overview.
- Ignoring a small crown crack. A hairline in the crown that runs into cold weather often turns into a flowing line by spring. The crown is cheap to seal and expensive to rebuild.
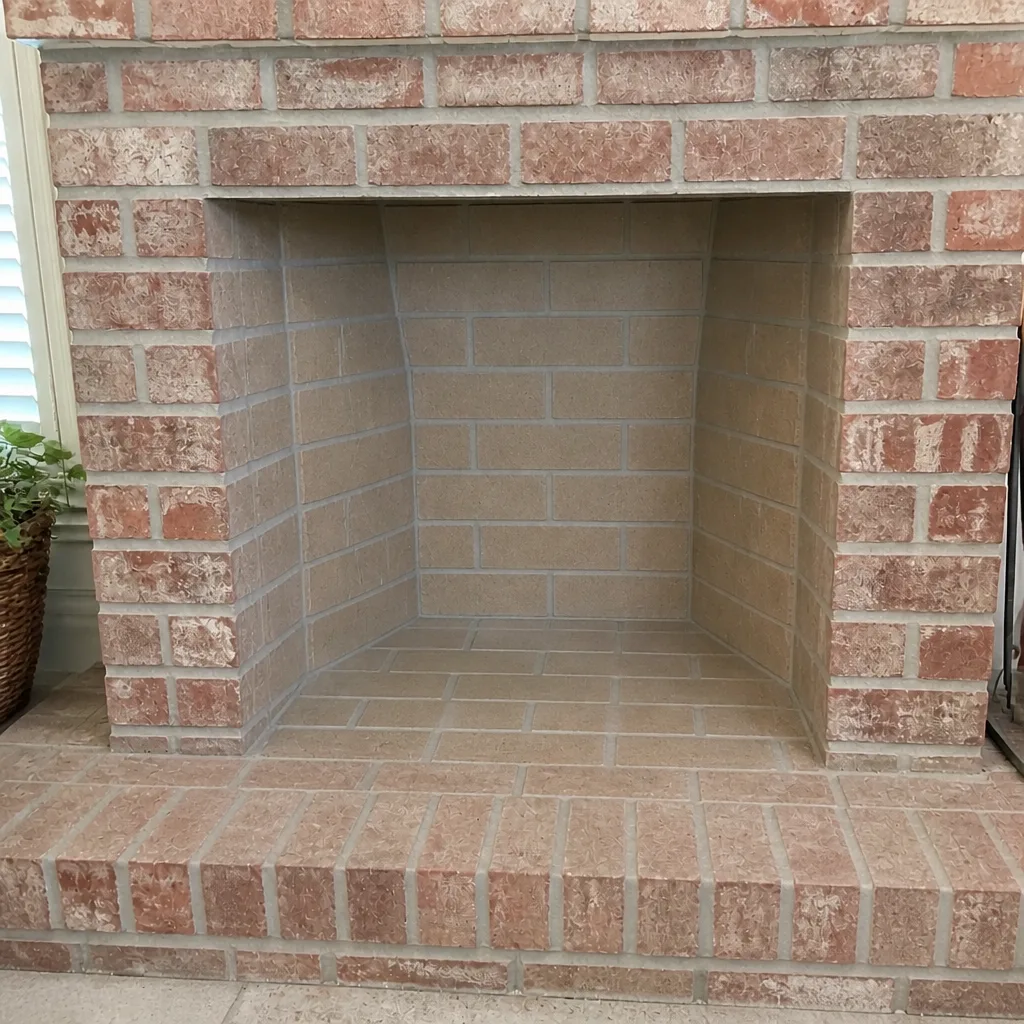
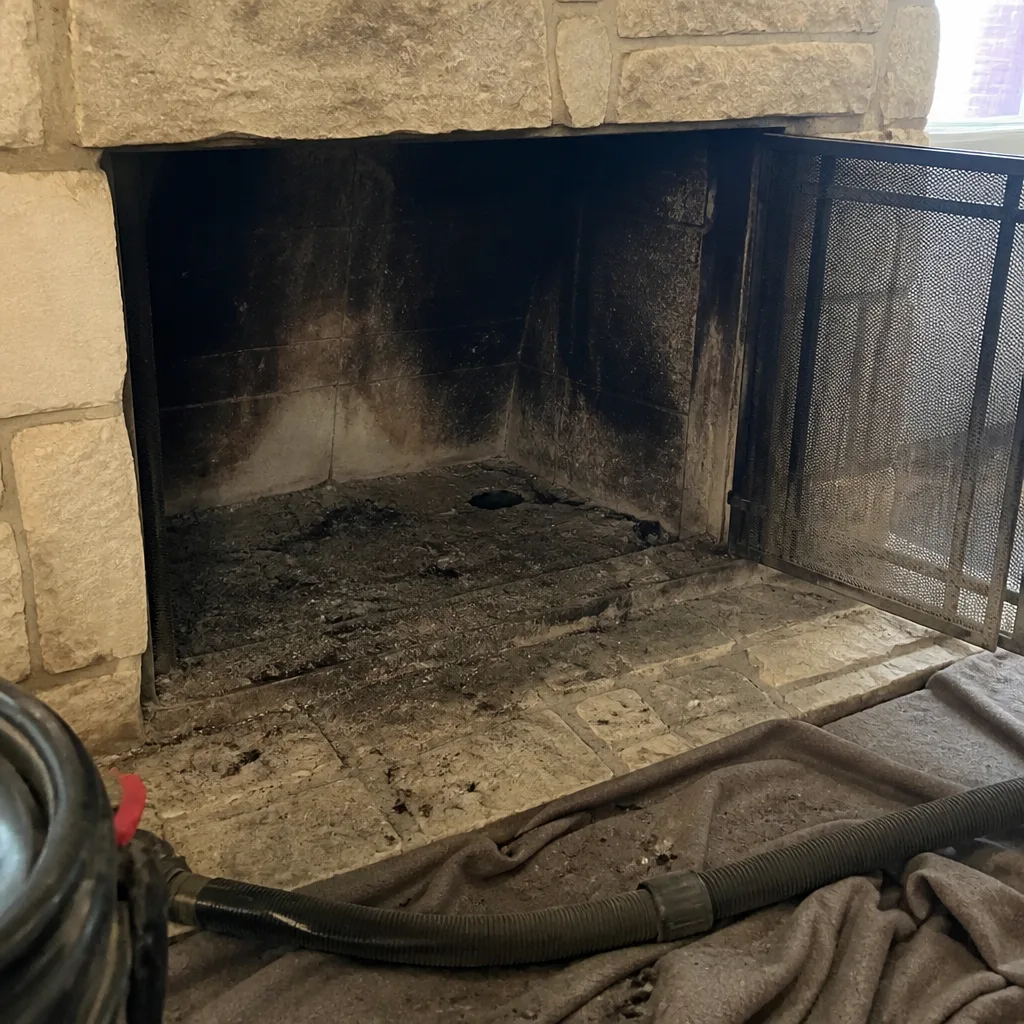
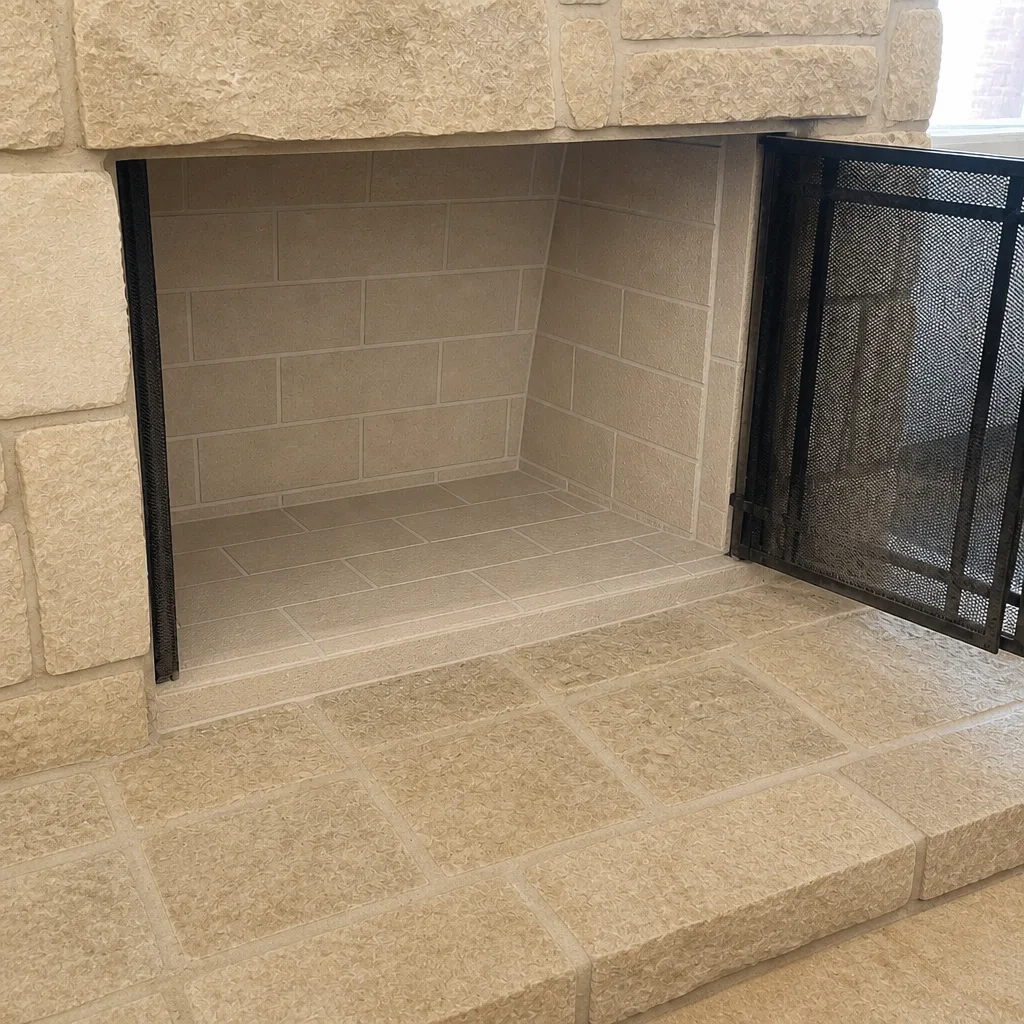
See the difference
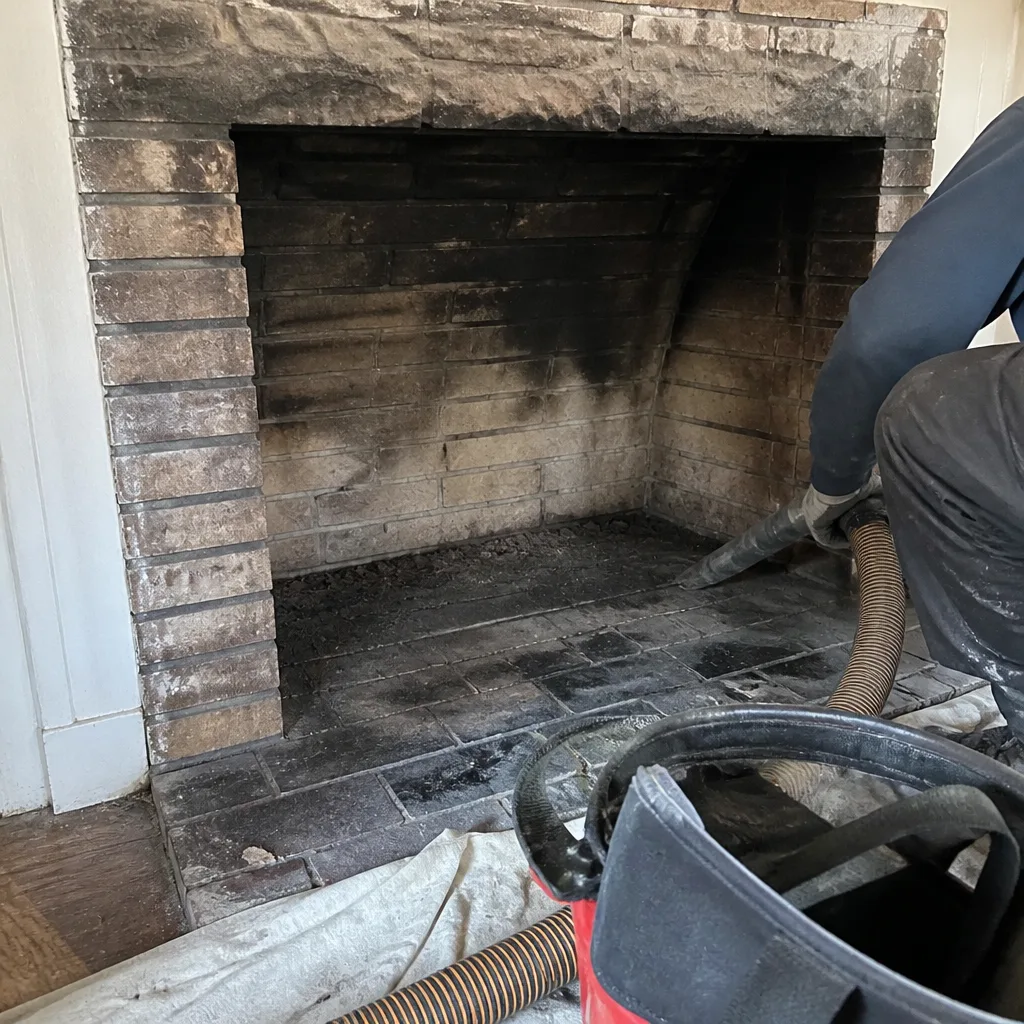 Before
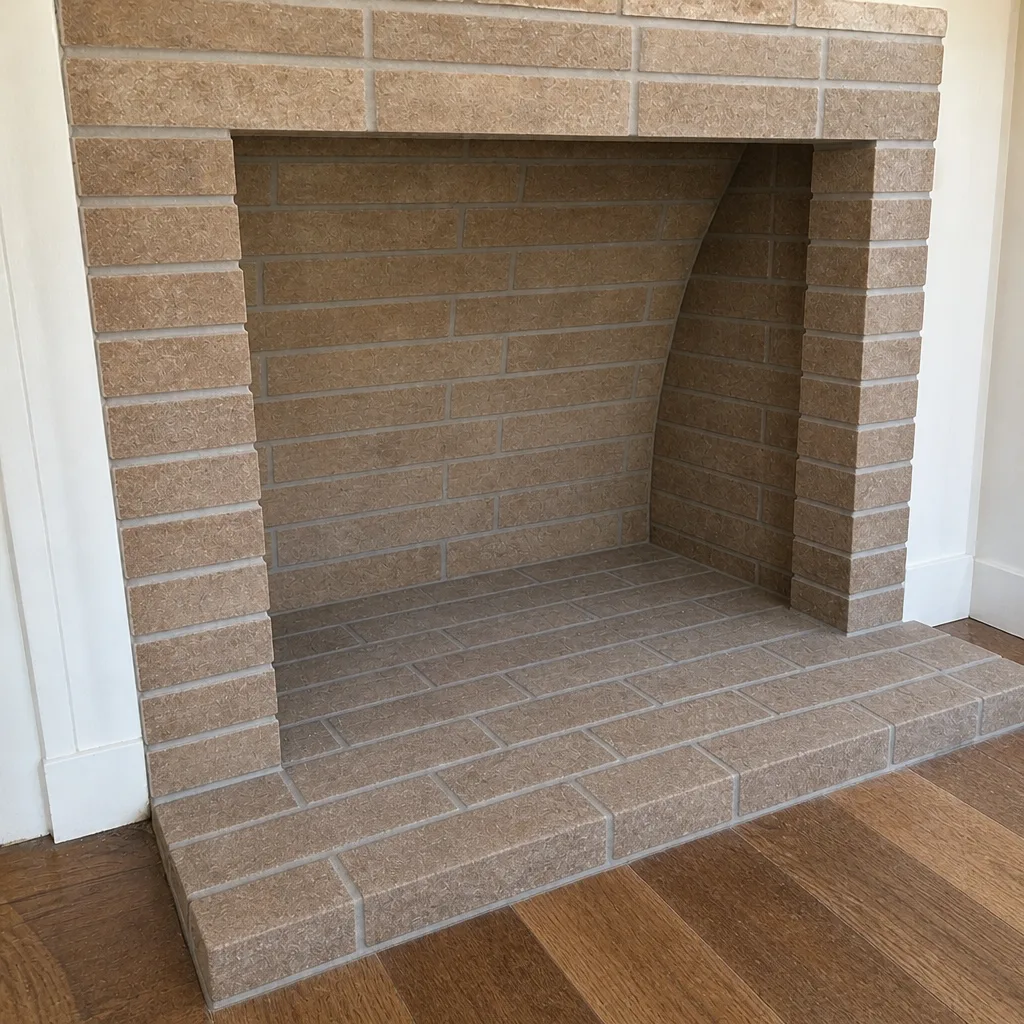 After
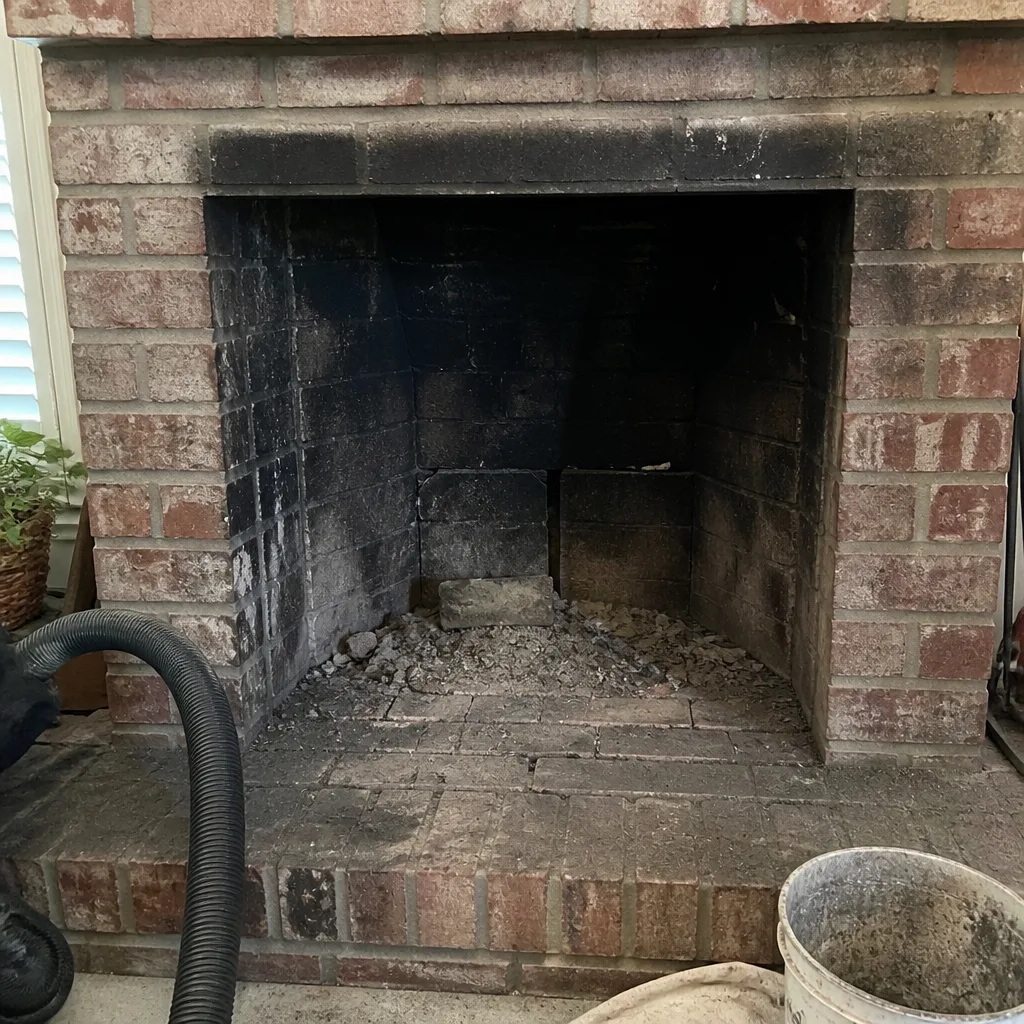 Before
 After
 Before
 After
When to Call a Professional
Call a professional chimney technician when the checklist turns up any of these: smoke backing into a room during the first fire, a damper that won’t close fully or won’t open at all, cracked or missing firebrick, visible soot or tar forming above the damper, efflorescence or interior water staining anywhere the chimney passes, a cap screen that appears packed or damaged, or anything above the damper that needs visual confirmation. A professional camera inspection is also the right call if you’ve never had the flue inspected in your ownership and don’t have a written report from the previous owner.
The checklist is designed to help you decide what needs professional attention. Chimney Sweep Tracy offers free estimates in Tracy. Call (833) 766-1560 and one call covers the sweep, the inspection, and any repair automatically. Our technicians have up to experience, we use professional-grade components from brands contractors specify by name, and nothing is recommended without a camera view we can show you. The written estimate sets the final price.
Frequently Asked Questions
Once per burn season is standard, and more often if you burn frequently or burn wood that isn’t fully seasoned. For most Tracy homeowners who light fires through winter, an annual sweep scheduled in September and a professional inspection in March covers both sides of the season. If your insurer asks for proof of annual maintenance, one dated sweep report per year satisfies that requirement.
You can safely check the firebox, damper, cap, and exterior surfaces yourself each year. What you can’t check is the interior of the flue. A professional inspection with a camera is the only way to see creosote staging, liner condition, joint integrity, and internal damage. Once a year, with the report and photos, is the standard most insurers recognize. Call (833) 766-1560 for a documented inspection quote; estimates are free.
Clear the screen gently from the ground with a broom if you can reach it safely, or call for a professional to handle the cap and screen. What you should not do is climb onto a roof to clear a packed screen, because height work on a steep-pitched roof is a genuine safety risk. A professional sweep also confirms whether the obstruction is only surface dust or whether the screen itself needs replacement. Call (833) 766-1560 to book.
Yes, because a dated inspection report with photos and a record of any completed repairs is the documentation insurers typically ask for. The combination of a written inspection, images from the flue camera, and a signed work order for any repair is what establishes that the chimney was maintained and in known condition. Policies vary on exactly what they require, so check with your insurer about what they want on file. Call (833) 766-1560 if you need a documented inspection.
A newer insert typically burns hotter and more efficiently than an open fireplace, which can reduce creosote buildup rate. The schedule still applies because the insert’s venting system still accumulates creosote and still requires annual inspection. Low-emission inserts are not maintenance-free; they are maintenance-a-little-less. The March post-season inspection still gets scheduled, and the September pre-season cap and damper check still gets done.
No. Firewood stacked directly against an exterior wall or chimney holds moisture against the surface and creates an inviting place for insects and animals. Both are bad for the masonry and bad for the firebox area. Keep the stack at least a few feet away from the chimney and off the ground on a rack, so air can move underneath. It seasons faster and it keeps the house exterior dry.
The Bottom Line
A chimney maintenance checklist is only useful if it’s timed to the seasons that actually affect the chimney in front of you. For most Tracy homeowners, that means three checks tied to what the chimney is doing: a September pre-season cap and crown inspection, a January mid-season creosote staging check after 10 to 15 fires, and a March post-season liner, damper, and moisture assessment. Everything in between is self-inspection that stays safely below the damper. Above it, the professional inspection with camera documentation is what turns the findings into something an insurer recognizes, and what justifies the cost of the repair.
The self-inspection portion is the easy part. The camera is where the real answers live. If you want to speak with someone about a scheduled sweep or a March inspection, call (833) 766-1560 for a free estimate. We answer 24/7. Fast dispatch from 7am to 7pm, Sunday through Friday.
Written by the team at Chimney Sweep Tracy.